Showing posts with label headband. Show all posts

Monday, November 12, 2012

Ribbon as a Headband

There are many ways to get a ribbon to stay in place and act as a headband (as it seems intuitive that it really should be able to do on its own; alas, I've never met a ribbon that does).  This is one of the ways that Little Miss and I have experimented with lately.  She wore a version of this to be Alice in Wonderland for Halloween this year (with a light blue ribbon), and it would also work nicely for Snow White (with red).  It's also pretty as an everyday style, and you can use almost any width of ribbon.  Shoot, it's even a cute style without the ribbon in it!  You'll see what I mean...

Begin with a part down the center of your model's head.  From there, do a part from ear to ear, over the top of the head.  Part that off into four sections and tie them off with an elastic each.  The ear-to-ear part below is crooked on the right; I fixed it before I went on, but didn't take a pic of it fixed...
Then do a pull-through with each of the four sections: 
Next, part out a little square behind each of the current four squares, and tie them off, including the hair from the square in front of each: 
Finally, do a pull-through on those last sections (all four): 
You've now created a path for your ribbon.  It's a cute style on its own, though, and you could stop here if you wanted!  But if you'd like to add ribbon, "thread" a ribbon through your Topsy Tail, and go underneath each tied-down pony of hair, as shown below: 
Finish with the two ends of ribbon on top of the head (or off to the side, if you'd prefer a side bow), and tie a bow: 
Ta da! 
Have a great hair day! 

Friday, October 19, 2012

Spunky Ribbon Headband (Ribbon PT Style #5)

Welcome to the fifth (and final) ribbon pull-through post!  I love the cute look this style has... This is a short-hair version of a style I used to do on Little Miss' long hair way back when.  *Sniff!*  I first got the idea from a post by Princess Hairstyles, although now that I look back at that post, I am realizing that the technique I use has evolved to be more different from the post than I remembered!  The short-hair version is a little spunkier and takes into account the fact that short hair won't reach as far as long hair  :)  ...

Make a part from ear to ear, over the top of the head.  Clip the back hair out of the way as necessary.  From the hair in front of the part, part out a square on one side just above her ear.  Secure it with an elastic and do a ribbon pull-through, using about a 2-foot-long 1/4" satin ribbon (or whatever you'd rather): 
Wrap the ribbon around the piece of hair after the pull-through to make an "X."  Part out the next square and combine the ribbon-wrapped piece of hair with it in an elastic. 
Wrap & tie the ribbon around the elastic, and do another ribbon pull-through.  This makes 2 sections.  I did this for 3 sections on the first side, and 2 sections on the other side.  With the hair leftover in between the two halves of the headband, I tied everything all together with an elastic and tied a bow around the elastic with the ribbon.  Make sense?  So 6 equal sections in the headband altogether, but the palm tree was off-center, being in one of the two squares on the very top of her head.  (The other square of the top two was included in that side's part of the headband.)  I hope that makes sense; I didn't get great pics for this part! 
And the finished product...
As I mentioned above, I used to do this style on Little Miss' long hair... The main difference is that instead of pulling the sections up when you pull them through, you pull them down.  Each half is still done by itself, and then the two ends are tied together with a little elastic at the back of her head, underneath her hair.  On top, I closed the gap between the two halves with a wider ribbon of the same color or a similar color.  The longer version gives much more of a headband look... When we went to Disneyland, Little Miss dressed up as Snow White, and this was the Snow White hair I did for her.  It was very cute!  She got lots of compliments from the princesses.  :)  

Thanks for reading! 

Wednesday, September 5, 2012

Pull-Through Headband, Days 2-3

The pull-through headband ended up lasting three days!  On the third day, the pull-throughs were still intact, but the hair behind them was pretty floppy and cowlick-y.  I just gathered the hair right behind the headband into two little half-piggies to hold it out of her face.  Since I had done a pull-through in the middle of her head, I split it into two and had one half join each piggie.  And here's a side shot...


Happy hair-doing! 

Tuesday, September 4, 2012

Pull-Though Headband


This style reminds me of a look that was really popular about a decade ago for bridesmaids.  At least for weddings that I happened to attend!  Especially bridesmaids with shorter hair.  Except I think those were twisted sections of hair pulled back.  Anyway, this is nothing new, but it's a cute way to keep short hair out of the face for an active day of play.  (Of course, for us, it's too hot today to stay outside... Little Miss took her scooter out on a short walk with Daddy earlier and they both came home sweaty and tired.  So we'll be finding "active play" inside the house.  Lucky us.)  Here goes with the style... It's really quite simple.

I started with her hair parted off VERY slightly to one side, and used my usual water to slick the morning cowlicks out of her hair.  Then, if she had had longer hair, I probably would have made a part across the top of her head (along the coronal plane, for any med-types out there) and bound the back half into a temporary pony.  This would have kept it out of my way and ensured a straight part.  Oh, well.  With short hair, I eyeballed the part each time.  So I first sectioned off a small piece right in the middle of her head and tied it off with an elastic:


Next, I finished doing this for the front half of her head.  Side note:  Notice her lovely outfit?  That would be a pick by Little Miss.  I like to encourage independence (especially when we're not going anywhere... know what I mean???), so when the choices are a little on the--er, creative--side, I try to coordinate the colors of her hair elastics to give some unity to the outfit!  Elastics used with pull-throughs often don't end up showing much, but hey, it makes me feel better.  ;)


Finally, I just went through with my Topsy Tail and did a pull-through on each section.  Here's a tip about the Topsy Tail... especially on styles that have a lot of pull-throughs like this one.  Because of the shape, sometimes it can catch a little bit when pulling it through.  It helps if you can squeeze the "O" of the Topsy Tail, just until the first part of it gets through.  Fewer "ow" 's this way.  Like this: 


And the finished product...


This style ended up lasting us three days!  On Day 2, the hair in back of the headband started flopping forward into her face a bit.  You could probably minimize this by making the headband go further back on her head.  Here is how I modified it on Day 3 to keep the hair out of her face.  This would be a great style for camping or a vacation or anytime you know you won't want to spend a lot of time on your daughter's hair but will still want to keep it cute & out of her face. 

Happy hair-doing!

Wednesday, August 29, 2012

Braided Headband for Very Short Hair

My fingers have been aching to braid again!  I love doing all kinds of styles on my daughter's hair, but braiding and latticing/weaving are probably my favorites.  Thus was today's style born.  This is a version of princesshairstyles.com's "Barbie Hairstyle," which I've adapted for super short hair.  That being said, Little Miss' hair is a little too short even for this adaptation.  It's a little challenging to hold the braid with such short strands.  But we made it work.  Read on for instructions...

Since Little Miss' hair is in no way long enough for a complete headband, I only did the "headband" on the longer side.  So I started with her default side part, and then parted out the section of hair to be braided.  I decided to use a wavy part, although I did not make the braid itself curve back-and-forth with the part.  Honestly, that may have looked cuter, but I completely forgot!  Maybe I'll try that when her hair's a little longer.  :)  To make the wavy part, I first parted off the front ("bangs") section and secured it out of the way with a hair band temporarily.


Next, I made a wavy part parallel to the first, about an inch behind it.  I secured the hair after this second part with a few unadorned alligator clips, leaving the hair in between the two parts loose to be braided.

(Again, her hair is not greasy in these pics; it's the water I use to smooth her hair while styling it.)  Next, I did an inside-out French braid along the strip of isolated hair, cornrow-like.  I had to secure it a bit sooner than I would've liked, since the hairs got so short! 


Finally, I removed the hair band from the front section, smoothed it back with water and a comb, gave it a quick twist, and joined it to the braid with an elastic.

Add a bow, and you're done!


Sunday, August 26, 2012

The Perfect Headband

Now that Little Miss' hair is short, she has decided that she looks like Snow White when she wears a headband, thereby increasing the demand for headband-wearing in our house.  But several of her headbands are the slippery kind.  If I send her to school in one of them, between recess, rest time, and just general passage of time, she comes home looking quite disheveled.  Actually, those pesky front wisps of hair are so short now that they really won't stay behind a slippery headband for more than a minute on their own!  So here's the trick I've been using to get the slippery headbands to look like they're actually doing the work of holding her hair back, when they're really just there to look pretty...

Start with hair parted on the side, which is Little Miss' default part with this haircut.  In these pictures, her hair was blow-dried with a round brush earlier in the day.  Then slick down the front section of the larger side with a non-greasy-looking hair paste.  I like Aveda's Control Paste for this.


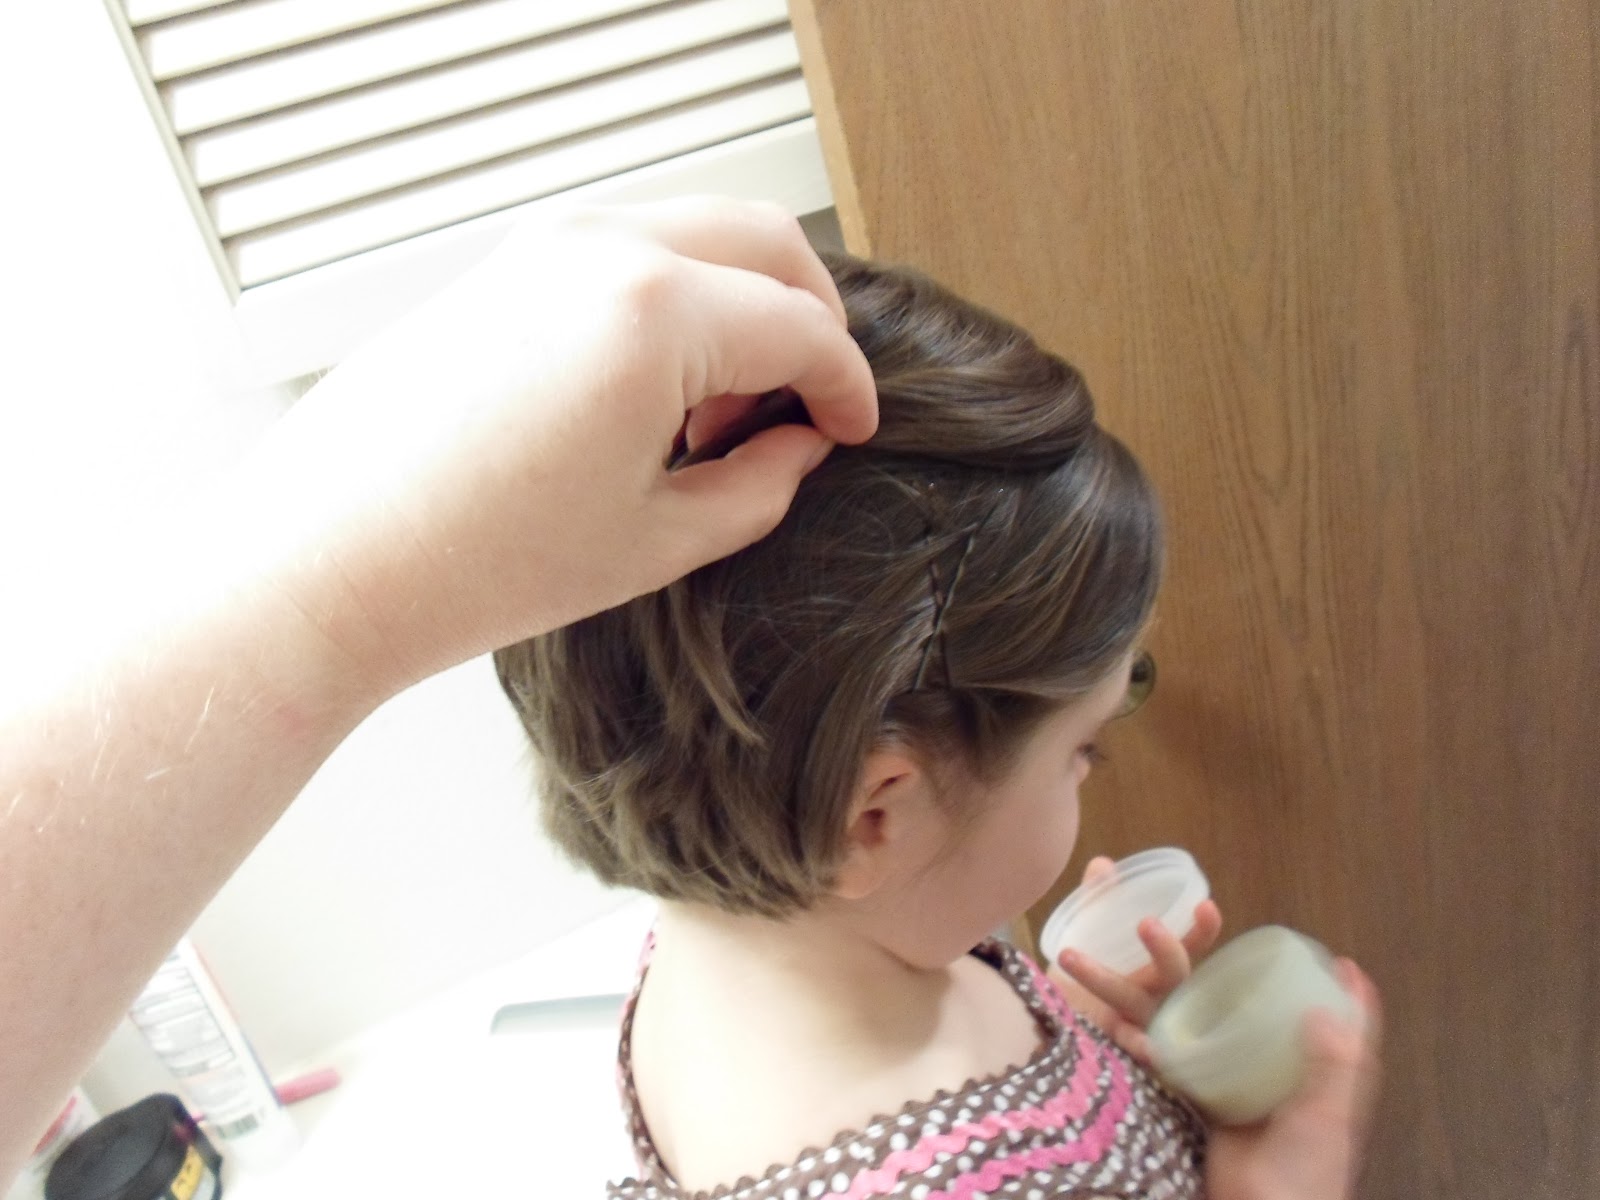
Next, part out that same front section loosely (I did right above the middle of her ear), twist it towards the back just once, and secure above/behind the ear with criss-crossed bobby pins.  (Below, I'm holding the rest of her hair out of the way so you can see the bobbies in place.) 


Place the headband in place, on top of the bobbies, and let the hair from behind the bobbies flop forward to cover them up.  And voila!  A Snow-White-worthy headband!