There are many ways to get a ribbon to stay in place and act as a headband (as it seems intuitive that it really should be able to do on its own; alas, I've never met a ribbon that does). This is one of the ways that Little Miss and I have experimented with lately. She wore a version of this to be Alice in Wonderland for Halloween this year (with a light blue ribbon), and it would also work nicely for Snow White (with red). It's also pretty as an everyday style, and you can use almost any width of ribbon. Shoot, it's even a cute style without the ribbon in it! You'll see what I mean...
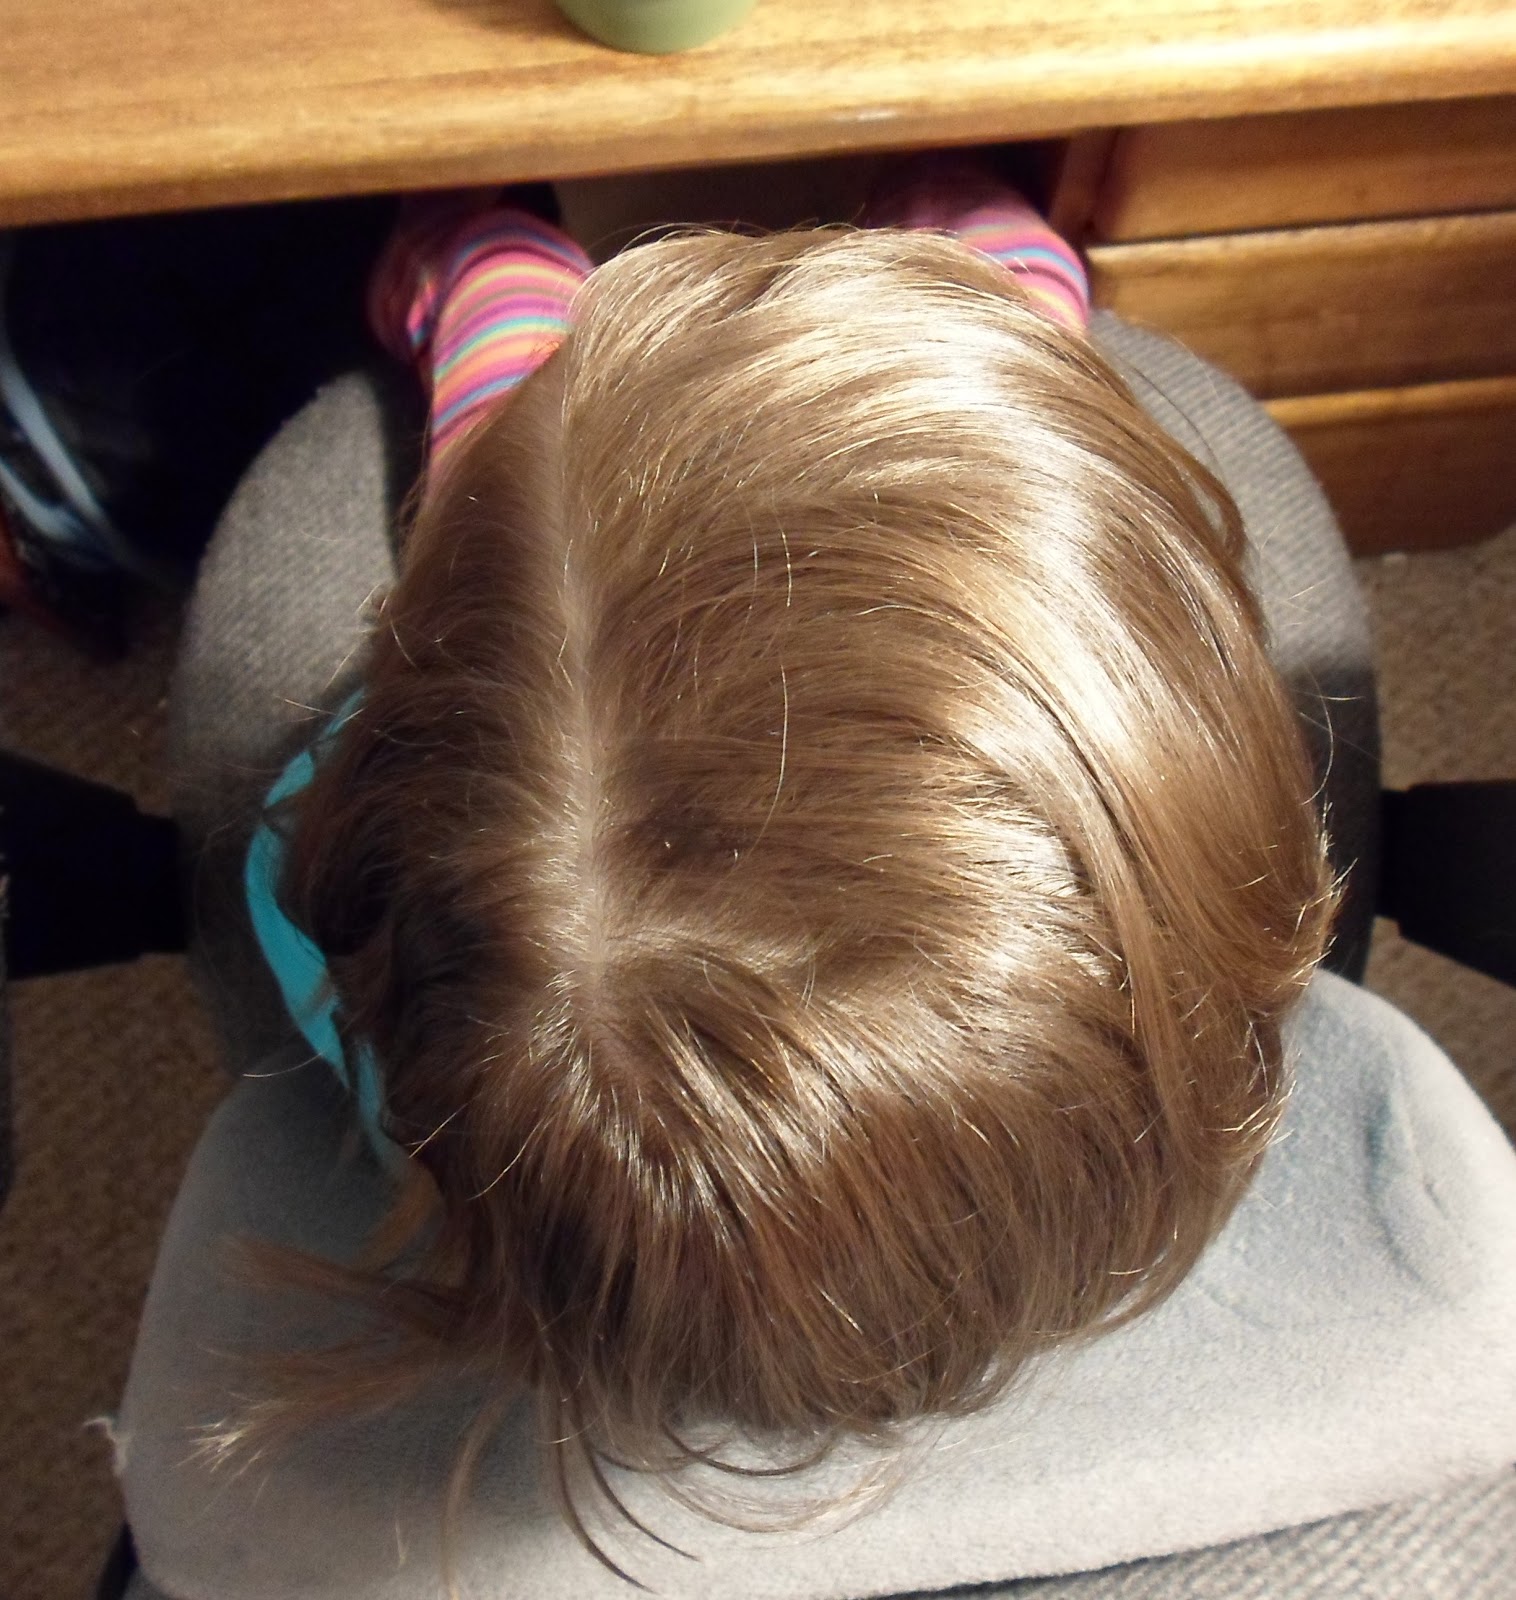
Begin with a part down the center of your model's head. From there, do a part from ear to ear, over the top of the head. Part that off into four sections and tie them off with an elastic each. The ear-to-ear part below is crooked on the right; I fixed it before I went on, but didn't take a pic of it fixed...
Then do a pull-through with each of the four sections:
Next, part out a little square behind each of the current four squares, and tie them off, including the hair from the square in front of each:
Finally, do a pull-through on those last sections (all four):
You've now created a path for your ribbon. It's a cute style on its own, though, and you could stop here if you wanted! But if you'd like to add ribbon, "thread" a ribbon through your Topsy Tail, and go underneath each tied-down pony of hair, as shown below:
Finish with the two ends of ribbon on top of the head (or off to the side, if you'd prefer a side bow), and tie a bow:
Ta da!
Have a great hair day!
Showing posts with label pull-through. Show all posts
Monday, November 12, 2012
Friday, November 9, 2012
Pull-Through Squares
This is a more involved variation of the pull-through waterfall style. A fun 'do, and it lasted for longer than a day, which is always nice to have as an option when you're busy! ;)
Start with a side part:
Part out a little square just to the side of the part, and do a pull-through, angling it towards the corner, as shown in the picture below:
Part out another little square just behind the first. Before you tie it off, add in half the hair from the first pull-through (leaving the other half hanging down). Then do a pull-through...
Continue this pattern for another two squares (or as desired), until you have a row like this...
Now back up to the front of the head. Part off a little square (getting the theme here? ;) ) to the side of the first square in front. Before tying it off, add in the hair hanging down from the first square. Then do a pull-through...
For the next square, add in BOTH the hair from the square it's next to in the previous row AND half the hair from the square in front of it. Continue this for another two squares, until you have two full rows:
And finally, do another row just like the second row. You will have hair hanging down on the side of her head (the right side, in this case), but not in the back. (Or you can choose to try it leaving hair out in the back, too!)
Have a great hair day! ;)
Start with a side part:
Part out a little square just to the side of the part, and do a pull-through, angling it towards the corner, as shown in the picture below:
Part out another little square just behind the first. Before you tie it off, add in half the hair from the first pull-through (leaving the other half hanging down). Then do a pull-through...
Continue this pattern for another two squares (or as desired), until you have a row like this...
Now back up to the front of the head. Part off a little square (getting the theme here? ;) ) to the side of the first square in front. Before tying it off, add in the hair hanging down from the first square. Then do a pull-through...
For the next square, add in BOTH the hair from the square it's next to in the previous row AND half the hair from the square in front of it. Continue this for another two squares, until you have two full rows:
And finally, do another row just like the second row. You will have hair hanging down on the side of her head (the right side, in this case), but not in the back. (Or you can choose to try it leaving hair out in the back, too!)
Have a great hair day! ;)
Tuesday, October 30, 2012
Spiderweb Hairstyle on Short Hair
Happy Halloween (almost)! I don't know about little ones at your house, but Little Miss was ecstatic when I reminded her this morning that tomorrow is Halloween. As a result, this hairstyle was a hit. I must say this is a spiderweb with artistic license! I think it does look a little like one, though. And Little Miss absolutely loved it, especially with the Halloween pony-o's that I made to go with it. (I think she may be almost as ribbon-crazy as me these days.) It was a little hard to get her to settle down for pics, but she finally did. :) The tutorial for the pony-o's is HERE. Keep reading for the hairstyle...
Start with a deep circle part on top of her head:
Divide that in half, and secure with temporary hair bands:
To one half, divide in half again, and divide each of those halves in half again. (There will be a total of 8 sections, 4 per half.) Tie off all of them EXCEPT the one shown in the picture as having a pink, bulkier hair band with elastics. Tie them off as close to the outskirts of the circle as the length of hair will allow for them to still be able to reach across the circle afterwards.
Do the same to the other side. The temporary hair band on the left side below is white:
Now, here's the idea: The two sections that you have that are tied off with temporary hair bands are going to be the two pull-backs/whale spouts/whatever-you-want-to-call-them. The three little ponies from the opposite side will cross the head to join each pull-back. To do this, I started with the right pull-back. I did a pull-through on the three little ponies from the other side that were going to join the pull-back, pulling them through such that they were oriented towards their destination. See below:
Then I twisted each strand, finally joining them all together with the pull-back. I removed the temporary hair band and tied it all off with an elastic. See?:
Now for the other side, and we'll incorporate the weaving. Do a pull-through for the three sections destined for joining the left side, again orienting the pull-through towards the pull-back they will join. Now use your Topsy Tail on the upper two to weave them. They should each go over one strand and under one strand from the other side, and it should be opposite of the order for the two. Make sense?
The furthest-back section can just cross over the opposite side; no weaving necessary. Then twist each section, in the opposite direction of the other side, and join it all together with the pull-back. Voila! Finished product, sans pony-o's:
And WITH pony-o's:
(You can tell we had some fun here. :) )
Happy Halloween! Stay safe and have fun!!!
Start with a deep circle part on top of her head:
Divide that in half, and secure with temporary hair bands:
To one half, divide in half again, and divide each of those halves in half again. (There will be a total of 8 sections, 4 per half.) Tie off all of them EXCEPT the one shown in the picture as having a pink, bulkier hair band with elastics. Tie them off as close to the outskirts of the circle as the length of hair will allow for them to still be able to reach across the circle afterwards.
Do the same to the other side. The temporary hair band on the left side below is white:
Now, here's the idea: The two sections that you have that are tied off with temporary hair bands are going to be the two pull-backs/whale spouts/whatever-you-want-to-call-them. The three little ponies from the opposite side will cross the head to join each pull-back. To do this, I started with the right pull-back. I did a pull-through on the three little ponies from the other side that were going to join the pull-back, pulling them through such that they were oriented towards their destination. See below:
Then I twisted each strand, finally joining them all together with the pull-back. I removed the temporary hair band and tied it all off with an elastic. See?:
Now for the other side, and we'll incorporate the weaving. Do a pull-through for the three sections destined for joining the left side, again orienting the pull-through towards the pull-back they will join. Now use your Topsy Tail on the upper two to weave them. They should each go over one strand and under one strand from the other side, and it should be opposite of the order for the two. Make sense?
The furthest-back section can just cross over the opposite side; no weaving necessary. Then twist each section, in the opposite direction of the other side, and join it all together with the pull-back. Voila! Finished product, sans pony-o's:
And WITH pony-o's:
(You can tell we had some fun here. :) )
Happy Halloween! Stay safe and have fun!!!
Thursday, October 25, 2012
Pull-Through Waterfall
Waterfall braids are very popular on hair blogs right now. Here's an easy faker version that I saw posted somewhere online by a blog reader. It's got a very cute, clean look to it. Little Miss and I have been doing this one a lot lately.
Start with a side part. Part out the front section of hair and bind it off with an elastic, but not right against the head...
Do a pull-through at an angle, as shown below:
Part off another rectangle behind the front one and bind it off, adding a little hair from the front section to it (and leaving most of the hair from the front section hanging down).
Do another pull-through. Keep this up for as many sections as you like. We did five:
Have a good hair day! Thanks for reading. :)
Start with a side part. Part out the front section of hair and bind it off with an elastic, but not right against the head...
Do a pull-through at an angle, as shown below:
Part off another rectangle behind the front one and bind it off, adding a little hair from the front section to it (and leaving most of the hair from the front section hanging down).
Do another pull-through. Keep this up for as many sections as you like. We did five:
Have a good hair day! Thanks for reading. :)
Friday, October 19, 2012
Spunky Ribbon Headband (Ribbon PT Style #5)
Welcome to the fifth (and final) ribbon pull-through post! I love the cute look this style has... This is a short-hair version of a style I used to do on Little Miss' long hair way back when. *Sniff!* I first got the idea from a post by Princess Hairstyles, although now that I look back at that post, I am realizing that the technique I use has evolved to be more different from the post than I remembered! The short-hair version is a little spunkier and takes into account the fact that short hair won't reach as far as long hair :) ...
Make a part from ear to ear, over the top of the head. Clip the back hair out of the way as necessary. From the hair in front of the part, part out a square on one side just above her ear. Secure it with an elastic and do a ribbon pull-through, using about a 2-foot-long 1/4" satin ribbon (or whatever you'd rather):
Wrap the ribbon around the piece of hair after the pull-through to make an "X." Part out the next square and combine the ribbon-wrapped piece of hair with it in an elastic.
Wrap & tie the ribbon around the elastic, and do another ribbon pull-through. This makes 2 sections. I did this for 3 sections on the first side, and 2 sections on the other side. With the hair leftover in between the two halves of the headband, I tied everything all together with an elastic and tied a bow around the elastic with the ribbon. Make sense? So 6 equal sections in the headband altogether, but the palm tree was off-center, being in one of the two squares on the very top of her head. (The other square of the top two was included in that side's part of the headband.) I hope that makes sense; I didn't get great pics for this part!
And the finished product...
As I mentioned above, I used to do this style on Little Miss' long hair... The main difference is that instead of pulling the sections up when you pull them through, you pull them down. Each half is still done by itself, and then the two ends are tied together with a little elastic at the back of her head, underneath her hair. On top, I closed the gap between the two halves with a wider ribbon of the same color or a similar color. The longer version gives much more of a headband look... When we went to Disneyland, Little Miss dressed up as Snow White, and this was the Snow White hair I did for her. It was very cute! She got lots of compliments from the princesses. :)
Thanks for reading!
Make a part from ear to ear, over the top of the head. Clip the back hair out of the way as necessary. From the hair in front of the part, part out a square on one side just above her ear. Secure it with an elastic and do a ribbon pull-through, using about a 2-foot-long 1/4" satin ribbon (or whatever you'd rather):
Wrap the ribbon around the piece of hair after the pull-through to make an "X." Part out the next square and combine the ribbon-wrapped piece of hair with it in an elastic.
Wrap & tie the ribbon around the elastic, and do another ribbon pull-through. This makes 2 sections. I did this for 3 sections on the first side, and 2 sections on the other side. With the hair leftover in between the two halves of the headband, I tied everything all together with an elastic and tied a bow around the elastic with the ribbon. Make sense? So 6 equal sections in the headband altogether, but the palm tree was off-center, being in one of the two squares on the very top of her head. (The other square of the top two was included in that side's part of the headband.) I hope that makes sense; I didn't get great pics for this part!
And the finished product...
As I mentioned above, I used to do this style on Little Miss' long hair... The main difference is that instead of pulling the sections up when you pull them through, you pull them down. Each half is still done by itself, and then the two ends are tied together with a little elastic at the back of her head, underneath her hair. On top, I closed the gap between the two halves with a wider ribbon of the same color or a similar color. The longer version gives much more of a headband look... When we went to Disneyland, Little Miss dressed up as Snow White, and this was the Snow White hair I did for her. It was very cute! She got lots of compliments from the princesses. :)
Thanks for reading!
Wednesday, October 17, 2012
Ribbon Braids Over the Top (Ribbon PT Style #4)
Ribbon braids and ribbon pull-throughs working together... This is a fun style, and you can change the ribbon colors as you want to match an outfit or celebrate a holiday.
To begin, part out 6 sections on top of her head, with 3 smaller and 3 bigger, as in the picture below. Tie off the smaller 3 with elastics, and the bigger 3 with hair bands that you'll remove (and likely with only one hand, so make them easy to take out!). Do comb/smooth out the larger sections now, though, since it'll be hard to do later:
Here's a close-up of the smaller three:
Do a ribbon pull-through with each smaller section, pulling the hair & ribbons up through the section, towards the other side of her head. It should look like this now:
Now do a ribbon braid with each section, using the hair as one strand and each of the two ribbon halves as the other two strands. Remove the temporary hair band from the larger section and secure the ribbon braid to that section with an elastic. Wrap the ends of the ribbon to hide the elastic and tie a bow. Trim the ends of the ribbons to be even-ish with her hair. You can then leave as is or do another pull-through with that bottom elastic in each section.
Here it is without the last sections being pulled-through (she's squinting in the sunlight, below). I lost my pic of the style with those sections pulled through, but it's cute that way, too! You get the idea...
To begin, part out 6 sections on top of her head, with 3 smaller and 3 bigger, as in the picture below. Tie off the smaller 3 with elastics, and the bigger 3 with hair bands that you'll remove (and likely with only one hand, so make them easy to take out!). Do comb/smooth out the larger sections now, though, since it'll be hard to do later:
Here's a close-up of the smaller three:
Do a ribbon pull-through with each smaller section, pulling the hair & ribbons up through the section, towards the other side of her head. It should look like this now:
Now do a ribbon braid with each section, using the hair as one strand and each of the two ribbon halves as the other two strands. Remove the temporary hair band from the larger section and secure the ribbon braid to that section with an elastic. Wrap the ends of the ribbon to hide the elastic and tie a bow. Trim the ends of the ribbons to be even-ish with her hair. You can then leave as is or do another pull-through with that bottom elastic in each section.
Here it is without the last sections being pulled-through (she's squinting in the sunlight, below). I lost my pic of the style with those sections pulled through, but it's cute that way, too! You get the idea...
Subscribe to:
Posts (Atom)