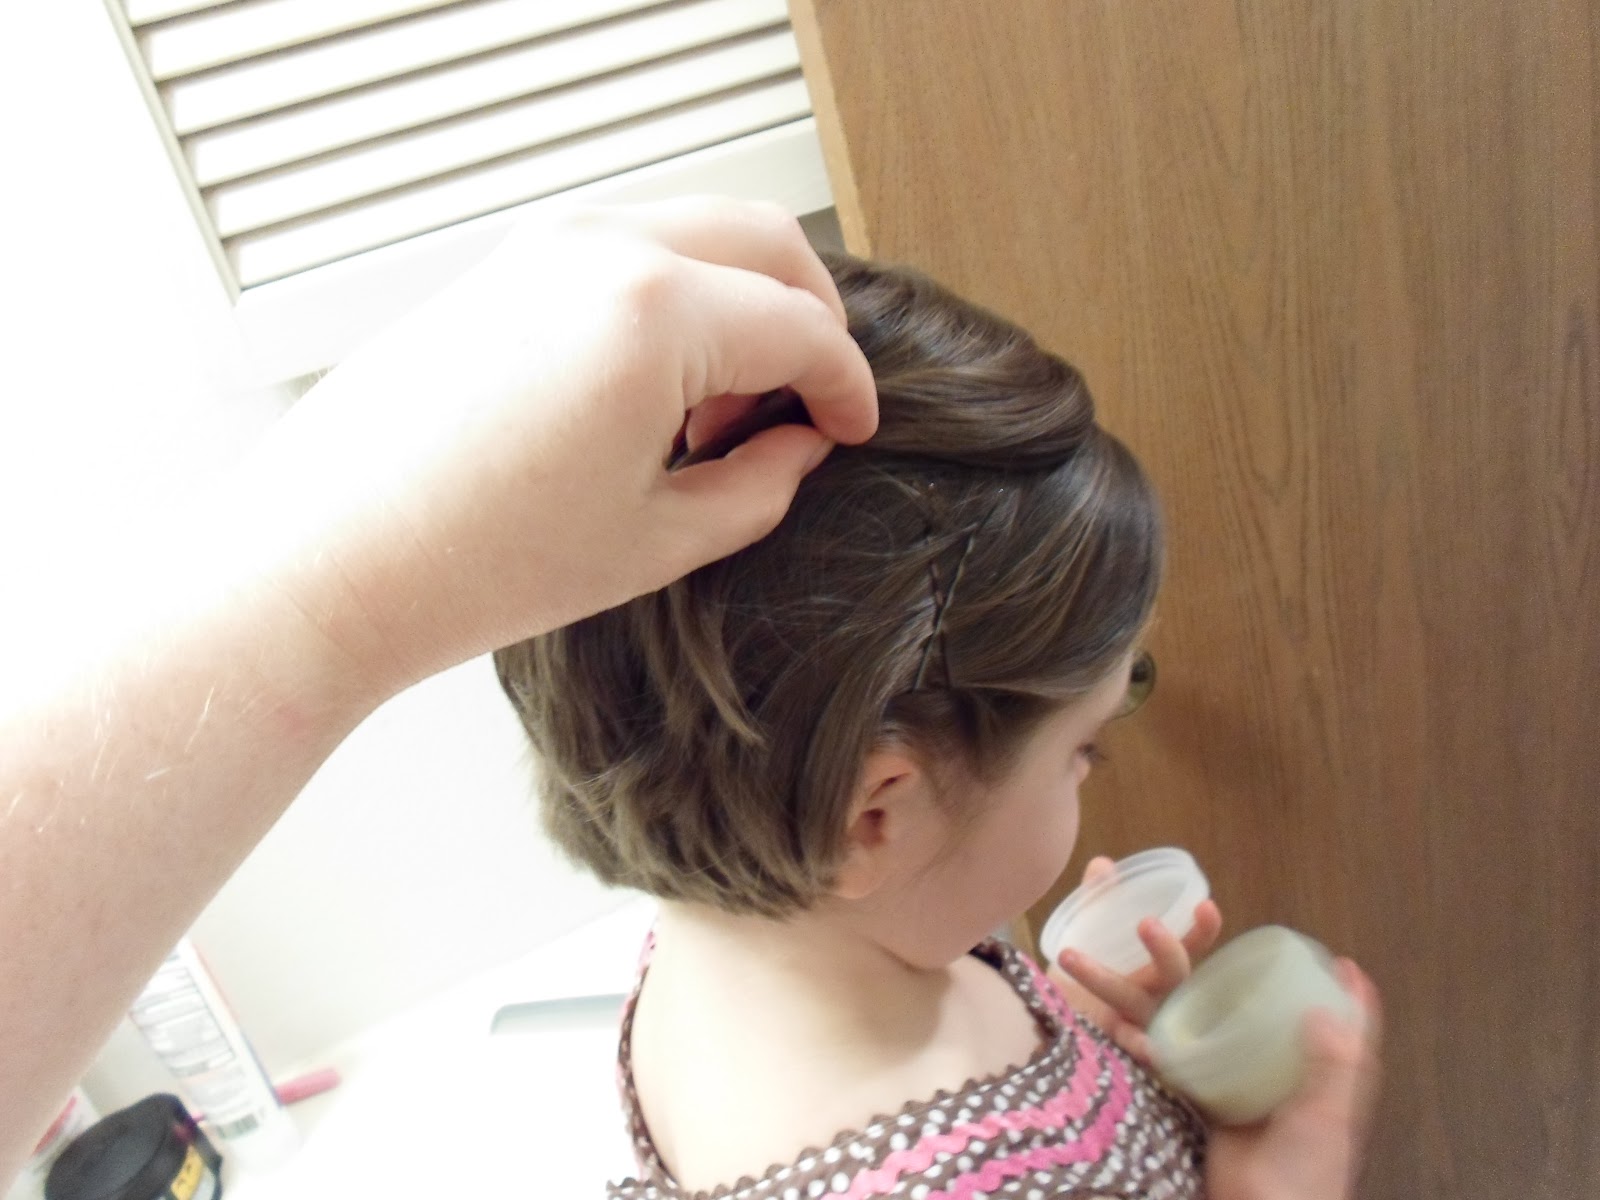
Waterfall braids are very popular on hair blogs right now. Here's an easy faker version that I saw posted somewhere online by a blog reader. It's got a very cute, clean look to it. Little Miss and I have been doing this one a lot lately.
Start with a side part. Part out the front section of hair and bind it off with an elastic, but not right against the head...
Do a pull-through at an angle, as shown below:
Part off another rectangle behind the front one and bind it off, adding a little hair from the front section to it (and leaving most of the hair from the front section hanging down).
Do another pull-through. Keep this up for as many sections as you like. We did five:
Have a good hair day! Thanks for reading. :)
Showing posts with label quick. Show all posts
Thursday, October 25, 2012
Monday, October 15, 2012
2 Pull-Backs with Ribbon Wraps (Ribbon PT Style #3)
This one is very similar to the first ribbon pull-through post, except that the ribbon pull-through gets split between two pull-backs instead of one. Part the hair as shown below, tying each section off with an elastic:
Do a ribbon pull-through with the front section. (In the picture below, it looks like I did this off-center, but I think her head was just tilted to the side. The pull-through was more or less in the center!) Then divide the hair from the pull-through in half. Wrap one piece of ribbon around one half, as shown below.
Keep wrapping, then combine that hair with one pull-back, ribbon and all, in another elastic on top of the first. Do the same for the other side. Trim the ribbon ends so they are short enough not to poke out of the pull-backs, but long enough such that you're sure they won't slip out of the elastics. I probably left about 1/4 to 1/2 an inch on each. You want them to be hidden. Now take new ribbons, and attach one to each pull-back, just like you would for a ribbon pull-through (only don't pull them through!).
Wrap around the elastics and tie bows. You're all set!
Have a great day!
Do a ribbon pull-through with the front section. (In the picture below, it looks like I did this off-center, but I think her head was just tilted to the side. The pull-through was more or less in the center!) Then divide the hair from the pull-through in half. Wrap one piece of ribbon around one half, as shown below.
Keep wrapping, then combine that hair with one pull-back, ribbon and all, in another elastic on top of the first. Do the same for the other side. Trim the ribbon ends so they are short enough not to poke out of the pull-backs, but long enough such that you're sure they won't slip out of the elastics. I probably left about 1/4 to 1/2 an inch on each. You want them to be hidden. Now take new ribbons, and attach one to each pull-back, just like you would for a ribbon pull-through (only don't pull them through!).
Wrap around the elastics and tie bows. You're all set!
Have a great day!
Labels:
2 bows,
dance,
pull-backs,
pull-through,
quick,
ribbon,
short hair
Thursday, October 11, 2012
The Ribbon Wrap (Ribbon Pull-Through Style #1)
How to Do a Ribbon Pull-Through
-------------
Be forewarned: This is in excruciating detail, which you may not need! If you already have a method that works for you, do it! Feel free to skip to the style at the bottom. But if you'd like specific instructions, read on...
You'll need: a rat-tail comb or other parting device :) , a Topsy Tail, 1/4" satin ribbon, scissors to cut the ribbon, and a couple of little elastics.
Start with slightly damp hair. Part out the section you'll be pulling through and tie it off LOOSELY with an elastic. This is the main difference with a ribbon pull-through. Just leave a little more room between the elastic and the head than you would for a regular pull-through.
Cut a piece of ribbon (for the style in this post, cut it to about 3-4 times the length of hair you will pull back to the palm tree). Grab a piece of the elastic and thread the ribbon through it to the halfway point of the ribbon (below).
Wrap the two ends of the ribbon around the elastic, to hide it, in opposite directions: around the back, then around the front, and finally tying them together in back (the underside). When you're finished, it should look like this:
A nice clean look. :) You could stop there, or... continue with the pull-through. Do a regular old pull-through now; just negotiate carefully so as not to snag or pull your daughter's hair. It's bigger with the ribbon on, so requires a bit more finesse.
Voila! A ribbon pull-through! (The ends of the ribbon are still there, loose and free; apparently they were just hidden behind the hair in the last picture above!) Use this pull-through alone or read on for way #1 to use it in a hairstyle...
The Ribbon Wrap
-------------
Start with a large box part on top of her head. Part out a small section on the diagonal, as used in the pictures above, and do a ribbon pull-through. Gather the rest of the hair from the box part into an elastic at the back corner opposite the ribbon pull-through. Take the two ends of ribbon and wrap them around the piece of hair in opposite directions, making sure that the X's land on the top of the piece of hair.
Finally, secure the piece of hair, together with the ribbon ends, to the pull-back you created with the rest of the hair.
Wrap the ribbon ends around the elastics to hide them, as you did earlier for the pull-through, and tie a pretty bow. All done! Simple & sweet.
The hair underneath was poofing a little, so I ended up adding a bobby pin to make it lie a little flatter...
Have a great day! And watch for ribbon pull-through style #2...
Labels:
1 bow,
dance,
pull-backs,
pull-through,
quick,
ribbon,
short hair
Friday, September 14, 2012
Diagonal Step Ponies
There is nothing earth-shatteringly new about this style, but it's cute, it's fun, and it's doggone easy. Instead of taking the ponies straight back, we mixed it up a little and brought them back diagonally. I apologize for the blurry pics... it was one of those mornings.
You can probably figure this out by looking at it, but I'll give a bit in the way of instructions just for funsies.
Start with a rectangle part on top of her head, but a bit askew, like this:
Part that in half, down the middle. Begin step ponies!
Add desired ribbon or bows. Send to school. Drink coffee.
Wednesday, September 12, 2012
Pull-Backs with a Twist
Super-quick (Speedy-Gonzales-quick) hairstyle. Two pull-backs with a teensy bit of flair to keep them interesting. Read on for instructions...
Start with a large box part on top of her head.
Divide this rectangle into three triangles, so that it looks like this: M . Tie off all three sections with elastics; the one in the middle should be tied a little further (not much) from the head than the other two. Do a pull-through towards the front with the middle section, as shown below...
Divide that middle section in half. Twist each half towards the front of the head, and add one to each of the other two ponies, like so:
Add some bows...
...and you're done! And now, just for fun... Little Miss' Rapunzel doll got an updo two nights ago (when Little Miss was supposed to be asleep!). I just had to share a picture...
Thursday, August 30, 2012
Twin Pull-Backs & A Tip
One of those mornings? Kids didn't want to get up or get ready, discovered you were out of shampoo (while in the shower), and a coffee spill involved somewhere? This is the perfect type of style. Just do a side part, part out two squares on the larger side, and tie each one with an elastic. It looks just a little bit more "done" than only one pull-back, and it's actually easier than one when your daughter has REALLY short hair. I add matching bows. And just a tip... I almost never let a bow (alligator clip or French barrette) hold hair in place on its own. They never stay put for me. So I tie off what I want tied off with a little elastic and slip the clip in on top, just grabbing a token amount of hair:
Have a better day than your morning was! And don't forget to buy shampoo...
Monday, August 27, 2012
Alternating Pull-Throughs
This is a style I used to do on Little Miss' hair when it was long, so it can definitely be done on longer hair, as can most of these short hairstyles. I first saw the style on a little girl at my daughter's school last spring. It's very cute and super quick.
Start by parting out a large rectangle on your hair model's head. (I apologize that this picture is so blurry; I accidentally deleted the clear one!) At this point, I probably wouldn't put in the hair band as shown, since I'm just going to be parting out a section, but wanted to show what the rectangle I used looked like.
Next, you're going to be parting the rectangle into five horizontal sections (or however many you want to do). As you part off a section (I always use the pointy end of a rat-tail comb, but do whatever works for you!), tie it off with a small elastic, off to one side. Try not to tie them off right next to your daughter's scalp, or you'll have trouble pulling them through later. Here is that done to the first section as I hold the second section off to the side it will be elastic-ed on...
Continue with all five sections, tying them off on alternate sides, until you end up with this...
A couple of notes here... these sections look a little like I parted them with diagonal parts, but I didn't. That would probably look cute, though! I'll have to try that sometime... Second, Little Miss' hair is often a bit wonky when she wakes up in the morning, with sections sticking up at funny angles, and now with short hair, it's worse. I don't use any product for smoothing those out; I just keep a small bowl nearby with about an inch of water in it, and dip my fingers in it to smooth out her hair. (Spray bottles work better, but mine seemed to get to smelling funny quickly, so it's easier for me to just re-use my little plastic bowl. Okay, TMI.)
Finally, use a Topsy Tail (if you have one) to pull each section down through itself. (I bought mine online; I've recently seen them in a Claire's, and I'm sure they are probably at other stores that I didn't check. I think I paid around $8 for two of them in different sizes and shipping.) I like to angle the front section towards the back of her head a little, as you can see below, to keep it out of her face. Here, the front section is already done, and I am mid-pull with the second section.
And finally, you end up with all five pulled through...
Happy hairdoing!
Start by parting out a large rectangle on your hair model's head. (I apologize that this picture is so blurry; I accidentally deleted the clear one!) At this point, I probably wouldn't put in the hair band as shown, since I'm just going to be parting out a section, but wanted to show what the rectangle I used looked like.
Next, you're going to be parting the rectangle into five horizontal sections (or however many you want to do). As you part off a section (I always use the pointy end of a rat-tail comb, but do whatever works for you!), tie it off with a small elastic, off to one side. Try not to tie them off right next to your daughter's scalp, or you'll have trouble pulling them through later. Here is that done to the first section as I hold the second section off to the side it will be elastic-ed on...
Continue with all five sections, tying them off on alternate sides, until you end up with this...
A couple of notes here... these sections look a little like I parted them with diagonal parts, but I didn't. That would probably look cute, though! I'll have to try that sometime... Second, Little Miss' hair is often a bit wonky when she wakes up in the morning, with sections sticking up at funny angles, and now with short hair, it's worse. I don't use any product for smoothing those out; I just keep a small bowl nearby with about an inch of water in it, and dip my fingers in it to smooth out her hair. (Spray bottles work better, but mine seemed to get to smelling funny quickly, so it's easier for me to just re-use my little plastic bowl. Okay, TMI.)
Finally, use a Topsy Tail (if you have one) to pull each section down through itself. (I bought mine online; I've recently seen them in a Claire's, and I'm sure they are probably at other stores that I didn't check. I think I paid around $8 for two of them in different sizes and shipping.) I like to angle the front section towards the back of her head a little, as you can see below, to keep it out of her face. Here, the front section is already done, and I am mid-pull with the second section.
And finally, you end up with all five pulled through...
Happy hairdoing!
Sunday, August 26, 2012
The Perfect Headband
Now that Little Miss' hair is short, she has decided that she looks like Snow White when she wears a headband, thereby increasing the demand for headband-wearing in our house. But several of her headbands are the slippery kind. If I send her to school in one of them, between recess, rest time, and just general passage of time, she comes home looking quite disheveled. Actually, those pesky front wisps of hair are so short now that they really won't stay behind a slippery headband for more than a minute on their own! So here's the trick I've been using to get the slippery headbands to look like they're actually doing the work of holding her hair back, when they're really just there to look pretty...
Start with hair parted on the side, which is Little Miss' default part with this haircut. In these pictures, her hair was blow-dried with a round brush earlier in the day. Then slick down the front section of the larger side with a non-greasy-looking hair paste. I like Aveda's Control Paste for this.
Next, part out that same front section loosely (I did right above the middle of her ear), twist it towards the back just once, and secure above/behind the ear with criss-crossed bobby pins. (Below, I'm holding the rest of her hair out of the way so you can see the bobbies in place.)
Place the headband in place, on top of the bobbies, and let the hair from behind the bobbies flop forward to cover them up. And voila! A Snow-White-worthy headband!
Start with hair parted on the side, which is Little Miss' default part with this haircut. In these pictures, her hair was blow-dried with a round brush earlier in the day. Then slick down the front section of the larger side with a non-greasy-looking hair paste. I like Aveda's Control Paste for this.
Next, part out that same front section loosely (I did right above the middle of her ear), twist it towards the back just once, and secure above/behind the ear with criss-crossed bobby pins. (Below, I'm holding the rest of her hair out of the way so you can see the bobbies in place.)
Place the headband in place, on top of the bobbies, and let the hair from behind the bobbies flop forward to cover them up. And voila! A Snow-White-worthy headband!
Subscribe to:
Posts (Atom)