

I love the way this style turned out! It took a bit longer than I'd thought it would... somehow we still made it to church on time, which is a miracle in our house! ;) The style is very simple in theory; the time involved just depends on how many braids you do and how fast a braider you are.
Start with a part just off center (or in the center if you'd prefer), as shown:

Then create little box parts all around the main part; along each side and in the back. Tie them off with temporary hair bands.

Start with the front section on one side; I chose her right side. Braid it, holding the braid back towards the back of the head as you braid so that it will lie flat when tied to its partner. With this style, always braid down as far as you can if your dd has short hair like mine! Otherwise, braid it down however long you'd like. Do the same to the second section. With the third section, you'll do something different. Divide it into two and cross the two sections, as shown in the picture below.

Clip the now-lefthand section somewhere out of the way. Braid the righthand one, angling it towards the front of the head, and join it to the first braid with an elastic. (Crossing the sections before braiding gives them the more seamless appearance that the two braids are coming from one section and not two.) Here I'm holding the second braid out of the way so you can see the first and part of the third sections braided and joined.

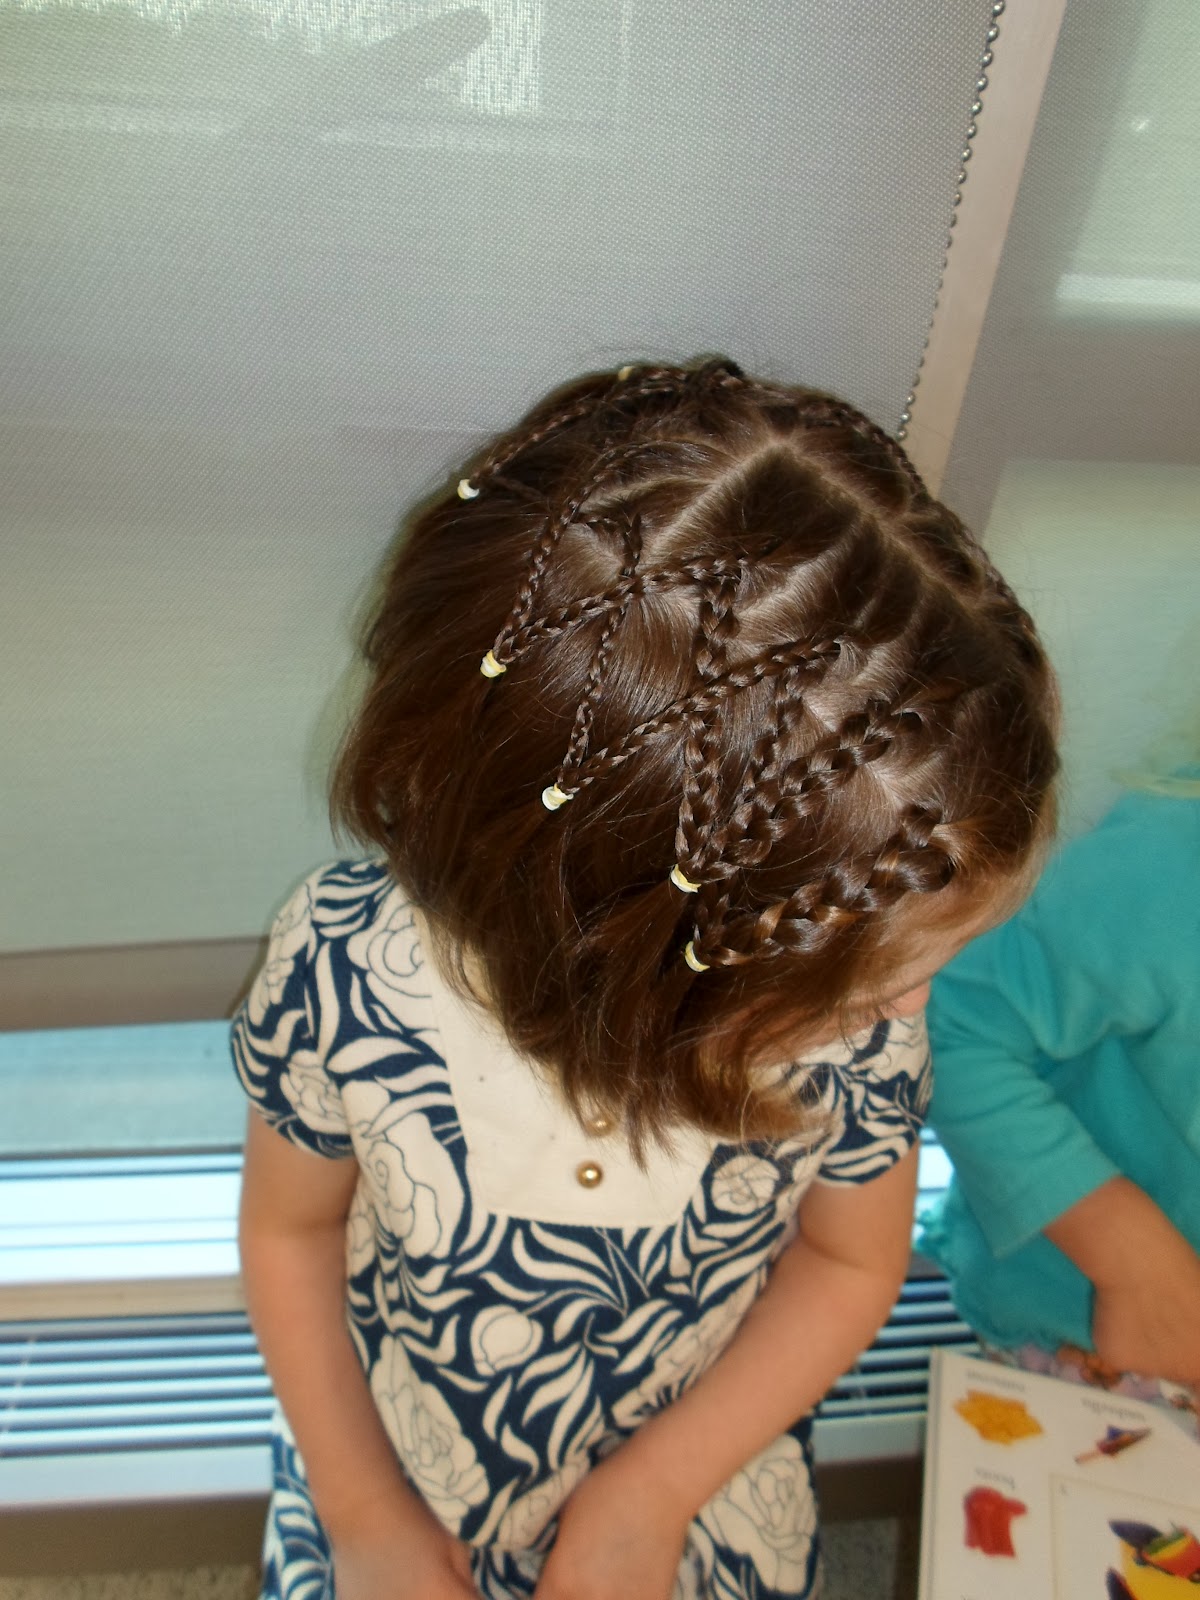
Keep this up for all of the sections around the head, dividing them in two, crossing them over, braiding, and joining with previous braids, until you get to the last two sections. Like with the first two sections, don't divide them; just braid the entire section, joining it to a previous braid. With each joined pair, try to keep it consistent which braid is on top and which on the bottom. I always had the righthand braid on top and the lefthand on the bottom. When you're done, give yourself a pat on the back (you've earned it!) and go back and cut the elastics you're not using anymore... See the one I mean in the pic below?

I then smoothed everything out and gave her head a couple of squirts of hairspray to tame/prevent flyaways. And here's the finished product...


Happy hair-doing! :)
No comments:
Post a Comment
We love comments!